How to Use Printable Iron On with your Cricut
Iron-on vinyl is a fantastic tool for adding personalized designs and artwork to fabrics. With a Cricut machine, you can create stunning iron-on designs that can be applied to various materials, including t-shirts, tote bags, and more. In this post, we will guide you through the process of using printable iron-on vinyl with your Cricut machine, so you can unleash your creativity and make one-of-a-kind creations!
Getting Started
To get started, you will need a few supplies. First and foremost, you will need a Cricut machine. Whether you have the Cricut Explore Air 2 or the Cricut Maker, both machines work great for this project. Additionally, you will need printable iron-on vinyl, which is designed specifically for use with inkjet printers. This type of vinyl allows you to print your designs directly onto the vinyl, making it easy to create intricate and detailed designs.
 Designing Your Project
Once you have gathered your supplies, it’s time to start designing your project. Open up the Cricut Design Space software and create a new project. You can either choose from the existing designs in the software or create your own from scratch. This is where your creativity can truly shine! Choose your desired image, adjust the size and position, and add any text or additional elements to complete your design. Make sure to mirror your image before printing to ensure that it appears correctly when transferred onto the fabric.
 Printing and Cutting
Once your design is finalized, it’s time to print and cut the iron-on vinyl. Load the printable iron-on vinyl into your inkjet printer and ensure that the settings are adjusted for the vinyl material. This might involve selecting the appropriate material type, such as “iron-on” or “fabric.” Once the printing is complete, you can proceed to the cutting process.
 Applying Your Design
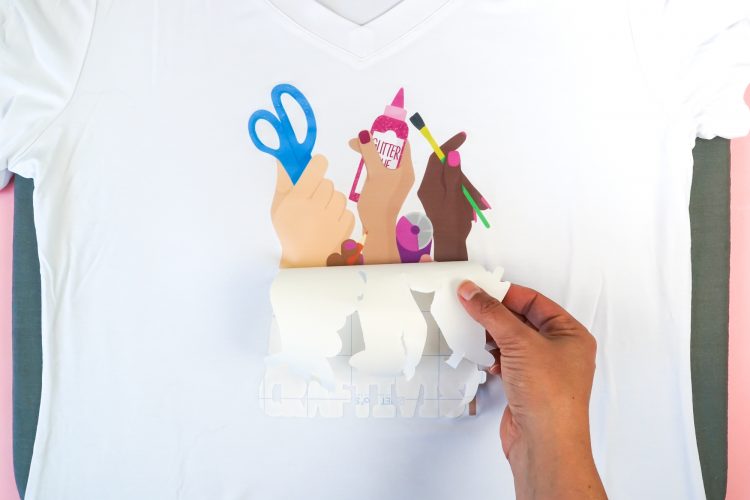
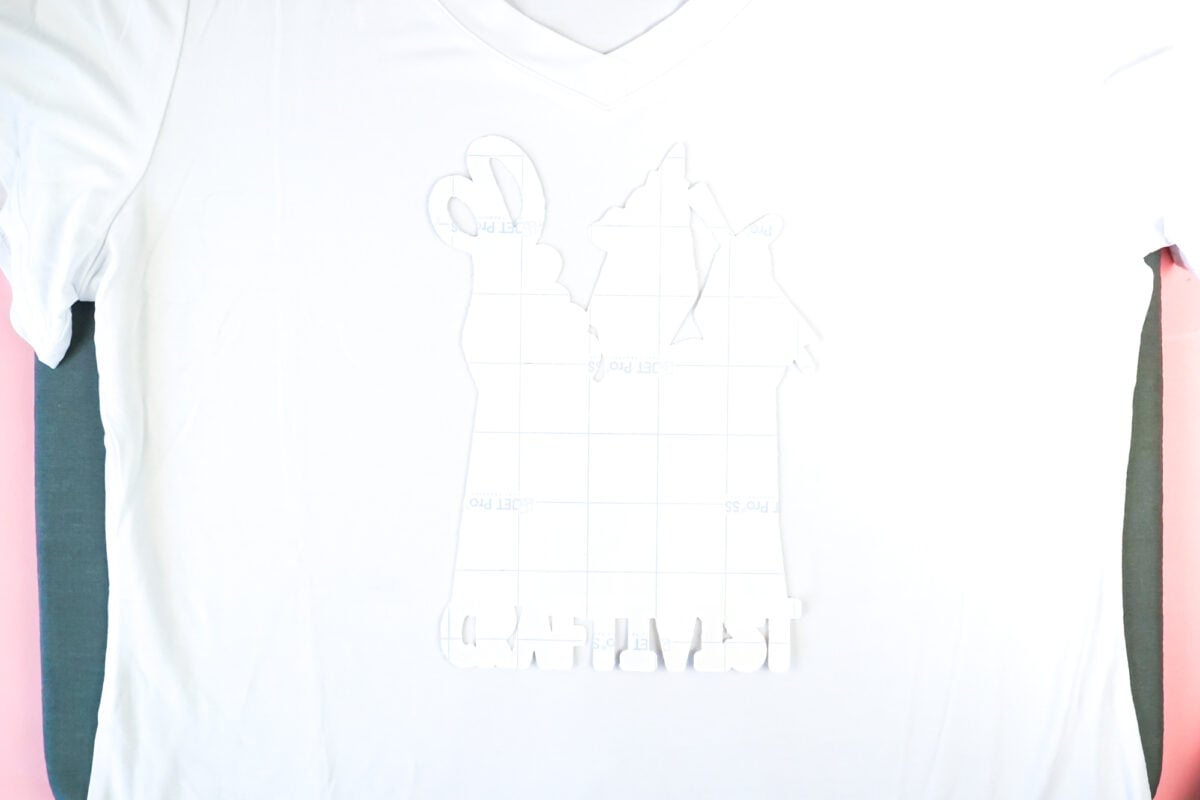
With your design printed and cut, it’s time to iron it onto your desired fabric. Preheat your iron to the appropriate temperature for the fabric you are using. Position your design on the fabric, plastic side up, and place a thin cloth or parchment paper over it to protect both the iron and the vinyl. Apply gentle pressure with the iron for about 30 seconds, moving it in a circular motion to ensure even heat distribution. Once the time is up, carefully peel off the plastic carrier sheet, and voila! Your personalized design is now permanently adhered to the fabric.
 Using printable iron-on vinyl with your Cricut machine opens up a world of possibilities for creating unique and personalized creations. From custom t-shirts to personalized tote bags, the opportunities are endless. So grab your Cricut machine, printable iron-on vinyl, and let your creativity soar!